Permanent mold casting and sand casting can be thought of as two sides of the same coin: similar processes, with each best-suited for certain requirements and scenarios. Today, we’ll examine the permanent mold casting process more closely: What is it? When should it be used? What are its benefits?
What Is the Permanent Mold Casting Process?
In a broad sense, the basis of the permanent mold casting process is similar to any casting process: A molten raw material is fed into a mold cavity, allowed to cool, and then removed from the mold. In the case of permanent molds, we create the mold in two halves and separate it when the material has cooled.
For a more detailed look at the process, as well as some variations on the basic, gravity-based feeding process, read on:
Mold creation
You create a permanent mold around a pattern, which is a single piece in the form to be cast, typically created through machining. Permanent molds are most often made from iron or steel.
Mold preheating
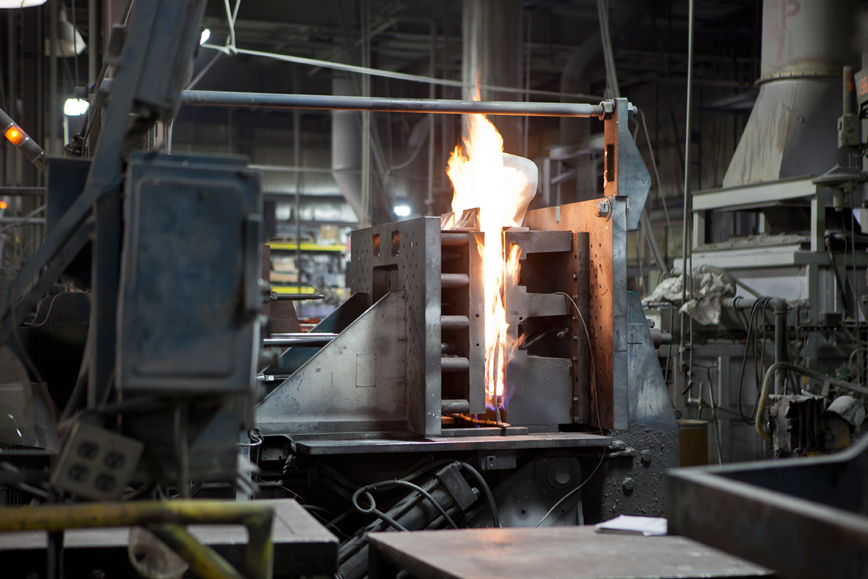
Once you have created the mold, the process commences. You then preheat the mold to allow the molten material to flow freely through the mold, without premature cooling and solidification. Preheating has the benefit of attenuating some of the thermal shocks that naturally occur with molten material. A “cold” mold would react much more harshly to the vast difference in temperature of the raw material.
Optional core placement
You can place cores within a permanent mold to achieve part features such as cavities and undercuts.
Material pour
In this step, you pour the liquefied raw material (such as aluminum) into the mold cavity via one or more sprues. While you can use the force of gravity alone, other methods such as low-pressure casting and vacuum casting are also available.
Cooling
Based on the size and shape, each part requires a minimum cooling time for full solidification.
Part removal/ejection
As mentioned above, permanent molds come in two halves. You separate them once the part has completely solidified and is ready to be removed. The interior surfaces of the cavity are sometimes coated with a material to prevent the piece from sticking to the mold. You may also use ejector pins in the mold. After ejection, trim any excess material, such as flash or material from runners. From here you can move parts through processes such as heat treat, age, and other necessary finishing requirements.
When Is Permanent Mold Casting Used?
The process is frequently drawn upon for parts requiring greater strength and durability. Some typical applications of permanent mold cast parts include:
- HVAC and ventilation components including fan blades and blowers
- Valve bodies
- Pump components
- Insert castings
- Electronic housings
- Brake castings
- Manifolds
What Are the Benefits?
If you’re choosing between sand and permanent mold casting, the following advantages of permanent mold casting may help make your decision a bit easier:
- Increased strength: The porosity of a sand mold plays a role in decreasing the strength of the finished part. Iron or steel permanent molds do not have this same issue.
- Smooth finish: Parts manufactured through permanent mold casting yields a smoother finish when compared to the sand casting process. We can use additional processes, such as polishing, to increase the smoothness of either casting process.
- Accurate dimensions: Permanent molds are able to produce parts with tighter tolerances than sand.
- Tool life: Depending on the material used in casting, the pour temperature, mold maintenance, and more, permanent molds may remain effective for more than 50,000 cycles.
With this information, you’re now able to make a well-informed decision about the right mold casting process for you. If you have any additional questions, contact LeClaire Manufacturing today.